UV EverLast Sticker Application
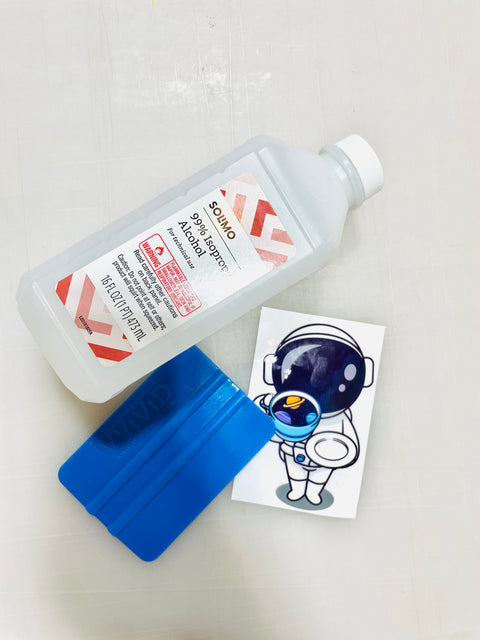
UV Sticker Transfer: Ensure your UV sticker is clean and ready for installation.
Surface: Clean the surface where the sticker will be applied. Make sure it is smooth, dry, and free from dust and grease.
Tools: Gather a squeegee or a credit card, a ruler, and a soft cloth.
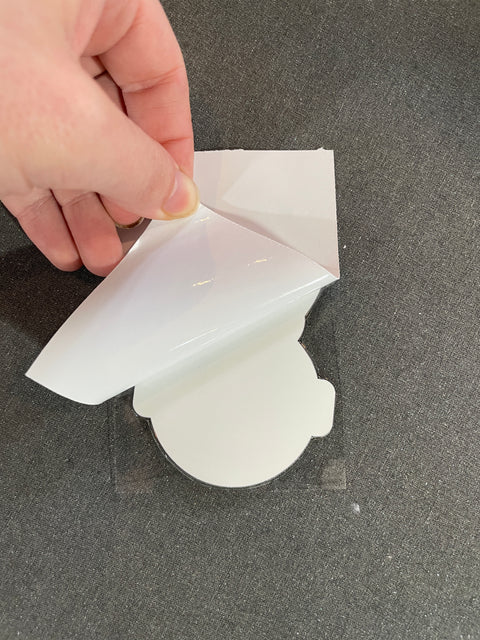
Remove the BackingCareful Peeling: Lift white backing off of the sticker slowly peel away the backing paper. Be careful not to touch the adhesive side of the sticker to avoid fingerprints and dust.
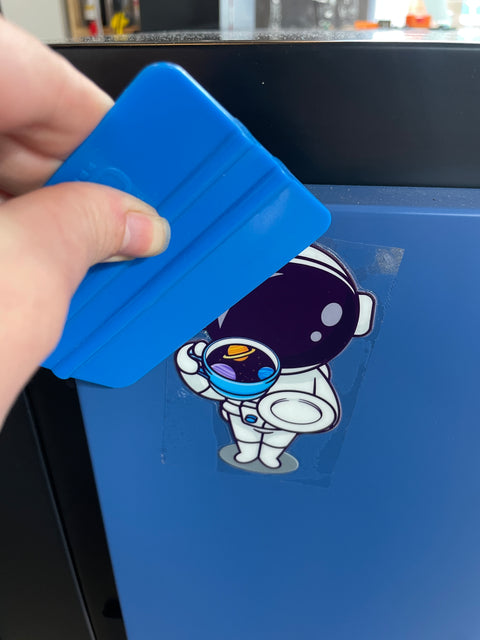
Apply the StickerGradual Application:Lower the sticker onto the surface gradually, Use a squeegee or credit card to smooth out the sticker as you go, working from the center outwards to avoid air bubbles and wrinkles.
Pressure:Apply firm, even pressure to ensure good adhesion.
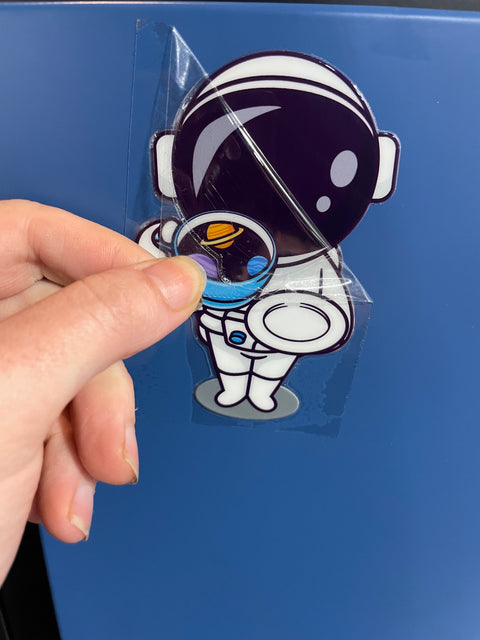
Peeling the Tape:Once the sticker is fully applied, slowly peel away the transfer tape. Peel it back at a sharp angle to prevent lifting the sticker.
Final Smoothing:Use the squeegee or credit card to smooth out any remaining bubbles or wrinkles.
Check for Bubbles: Inspect the sticker for any air bubbles. If you find any, gently push them to the edge with the squeegee or use a pin to prick the bubble and then smooth it out.
Cleaning: Wipe the surface around the sticker with a soft cloth to remove any residual adhesive or fingerprints.